Creating and Editing a Route
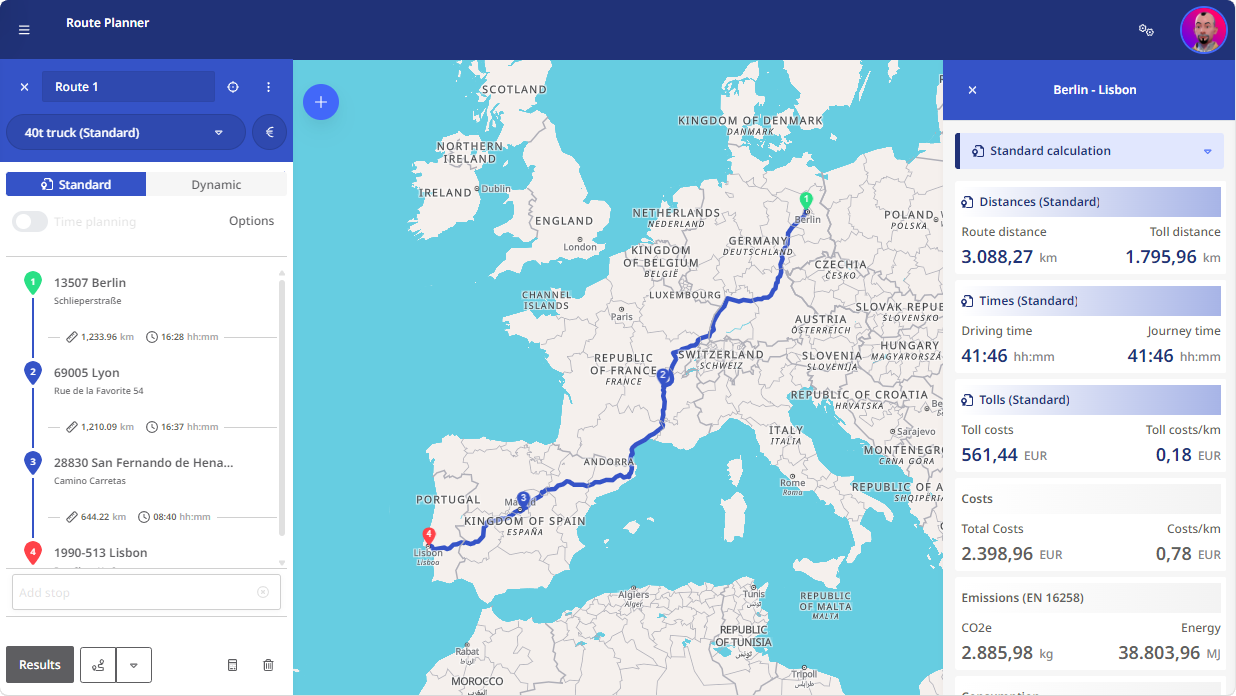
With the route planning module, you can create routes with up to 250 stops. When you start route planning, the map view appears.
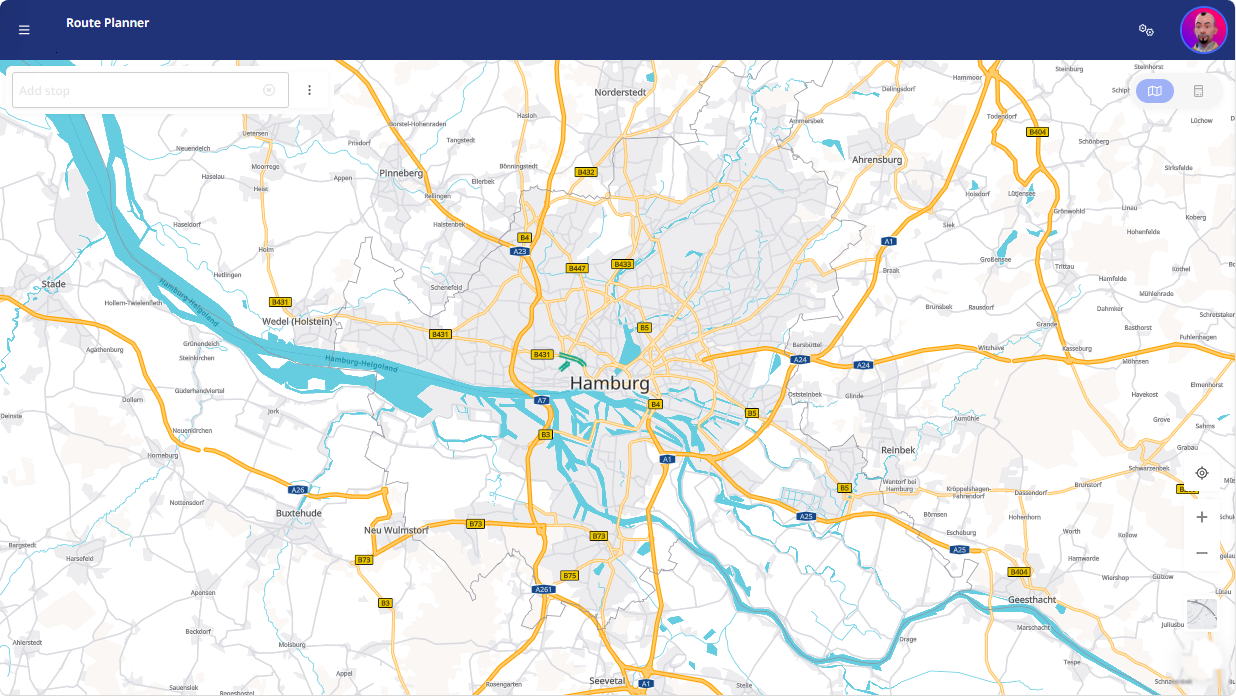
To create and edit a route, follow these steps:
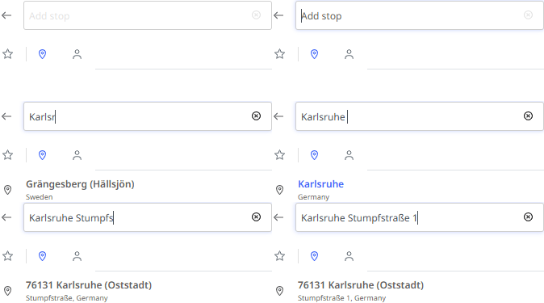
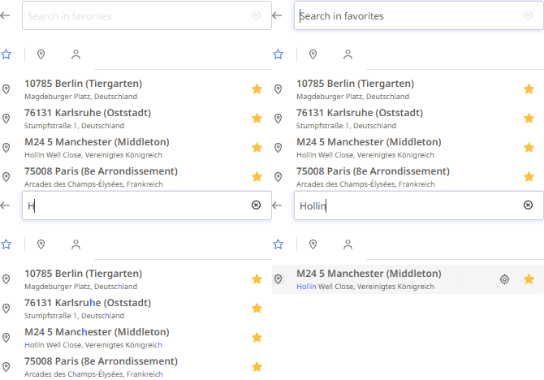
 Create a route
|

|
|
|
|
|
|
|
|
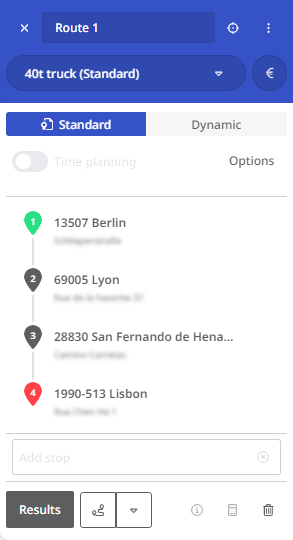
|
|
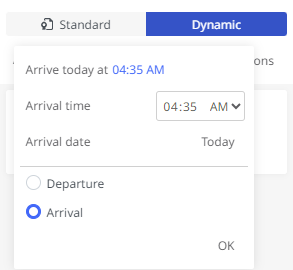
|
Note: You can change the order of stops by dragging and dropping them in the list. Grab the number of the stop and move it to the desired position.
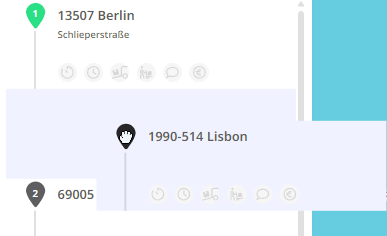
If the route was already calculated in the previous order, you must click the <Results> button again, as the result is reset when stops are changed.
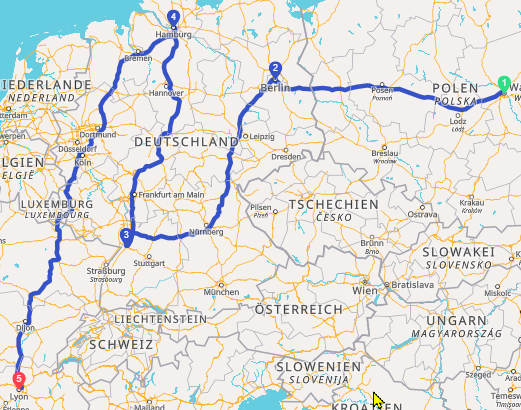
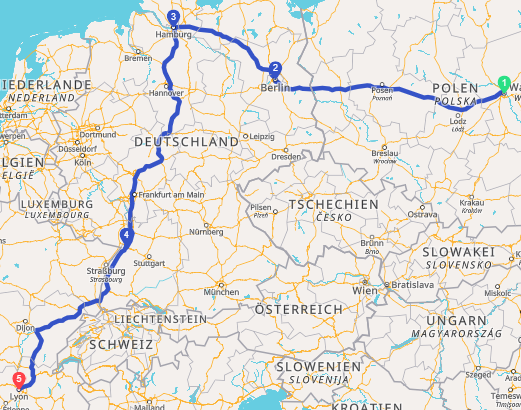
 Reverse the Order of a Route
|
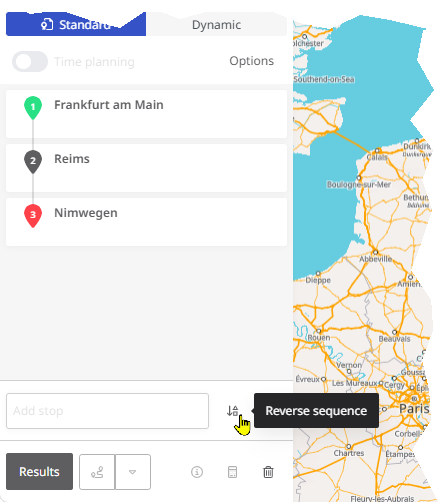
To reverse the order of a route (e.g., to drive the same route in reverse the next day), click the <Reverse Order> button next to the “New Stop” input field at the bottom right. |
|
|
|
The route will then be rebuilt in reverse order and can be recalculated. |
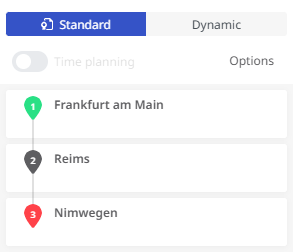 |
|
 Create a Route with Return to Start
If you want to define a route where the destination is the same as the starting point (a round trip), you can enter the starting point again in the “New Stop” field. Um Ihnen die To avoid re-entering the address, you can alternatively click the <Return to Start> button next to the input field.
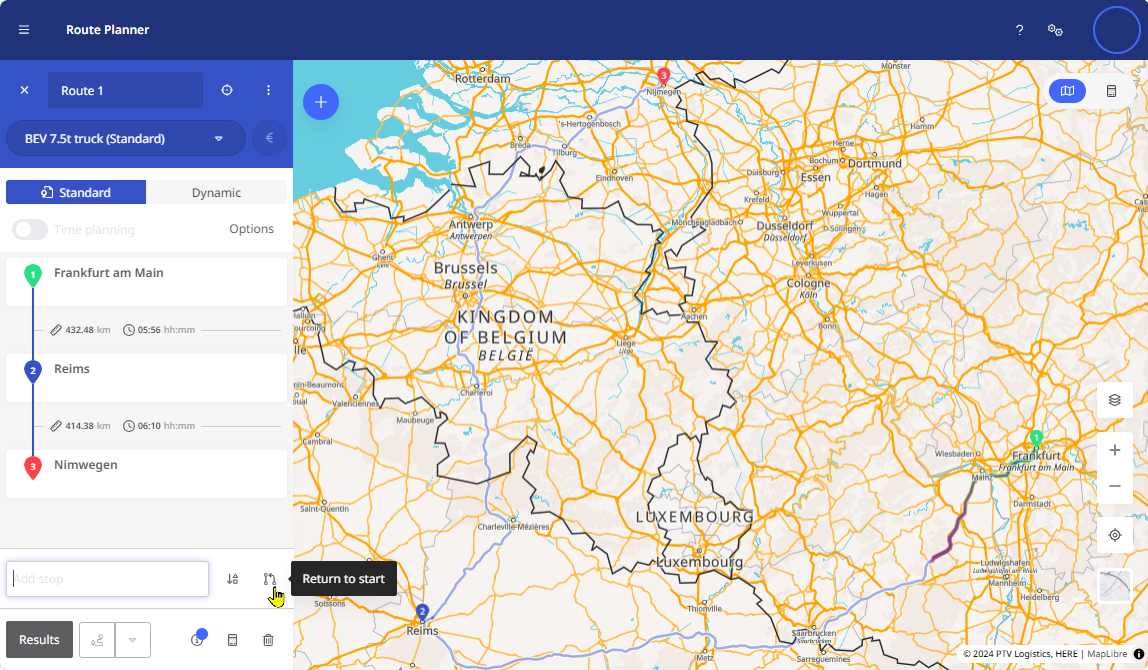
|
This duplicates the starting point (e.g., “Frankfurt am Main”) and adds it to the end of the stop list. |
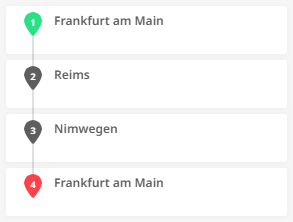
|
 Create Routes with Ferry Connections
By default, routes are calculated avoiding ferry connections. If a ferry can be bypassed (e.g., via a tunnel or reasonable detour), it won’t be selected.
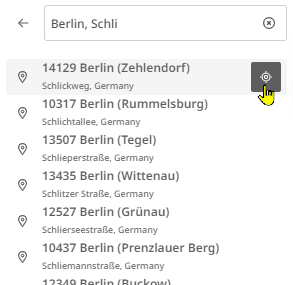
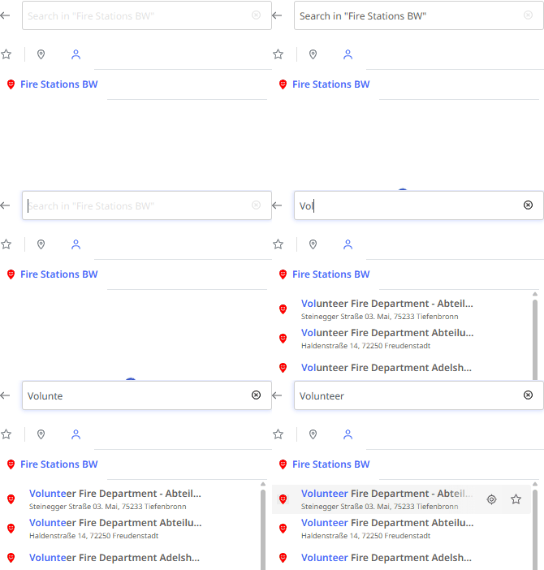
If you want to include a ferry, search for it and add it as a stop:
Proceed as follows:
|

|
|
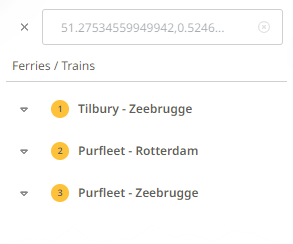
|
|
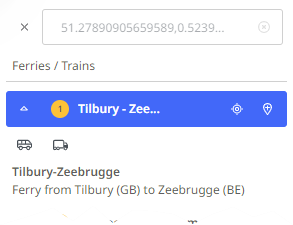
|
|
|
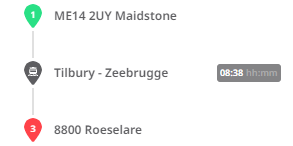
Warning: The ferry is automatically added at the end of the stop list. A ferry cannot be the start or end point of a route.
You must either add more stops after the ferry or manually move it within the list.
As long as the ferry is first or last in the list, the route cannot be calculated, and a warning is shown.
|
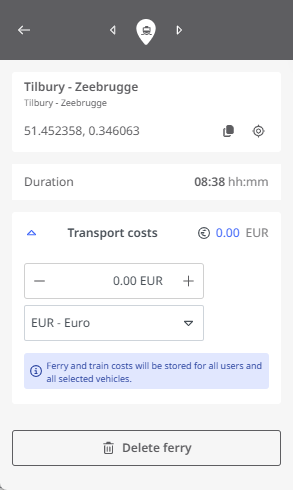
In the detailed view of the stop, the ferry duration is displayed for the ferry in addition to the address and coordinates of the starting point. You can also enter the cost of the ferry connection here so that it is included in the cost calculation for the route. Apart from deleting the stop, no other editing of this stop is possible. |
|
 Select a Vehicle Profile
|
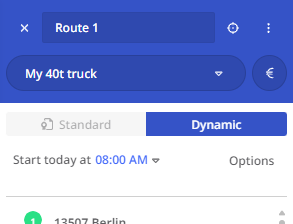
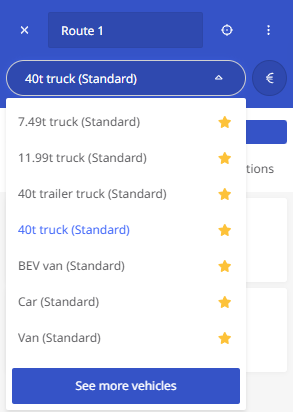
To select a suitable vehicle for your route, click the drop-down switch at the top of the route planner. The favorites list of available vehicles appears (see “Vehicles as favorites“). You can select the desired vehicle profile here. If the desired vehicle is not listed, click <Show More Standard Vehicles> or <Show More Vehicles> to access all vehicles. |
|
|
|
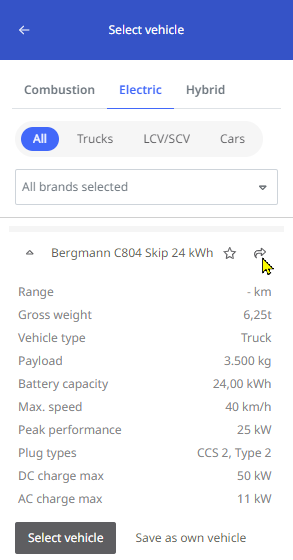
This list is grouped by vehicle categories. For electric vehicles, additional information is available.
Click the arrow button to select a vehicle.
|
 |
|
Note: If you’re using the route planner for the first time, your favorites list may be empty.

You must select at least one vehicle via <Show More Standard Vehicles> or <Show More Vehicles> and optionally add it to your favorites (see “Vehicles as favorites“).
If no vehicle is selected or in your favorites, route calculation is not possible. The <Results> button will be inactive, and a tooltip will appear.
 Optimize the Sequence of a Route
To plan a route efficiently and reduce unnecessary travel (and associated costs), use the <Optimize sequence> button below the stop list. Stops will be rearranged to create the shortest route. Start and end points remain fixed.
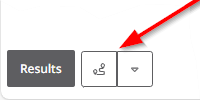
Next to the <Optimize sequence> button, the <Optimize selection> drop-down lets you choose which section of the route to optimize.
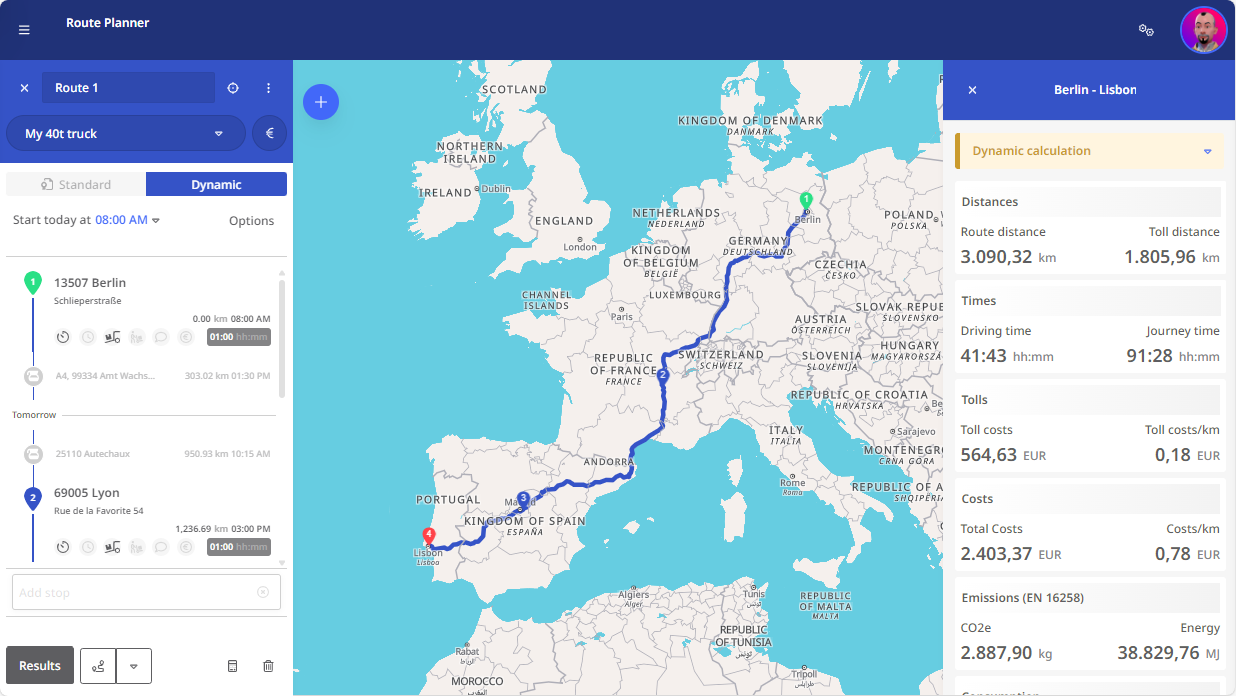
Note: The “Optimize sequence” function is available for both the “Standard” and “Dynamic” calculation modes. However, in “Dynamic” calculation mode, a standard vehicle must be used — a corresponding tooltip is displayed.
Note: The “Optimize sequence” function can only be used if your route/stop list contains at least 4 stops.
Hinweis: Die Funktion “Auswahl optimieren“ kann nur verwendet werden, wenn Ihre Route/Stoppliste mindestens 5 Stopps enthält.
However, if only stops 2 and 3 or 3 and 4 are selected for the optimization, the optimization does not lead to any improvement.

